How to take measurements: the 38 anthropometric measurements of a made-to-measure pattern
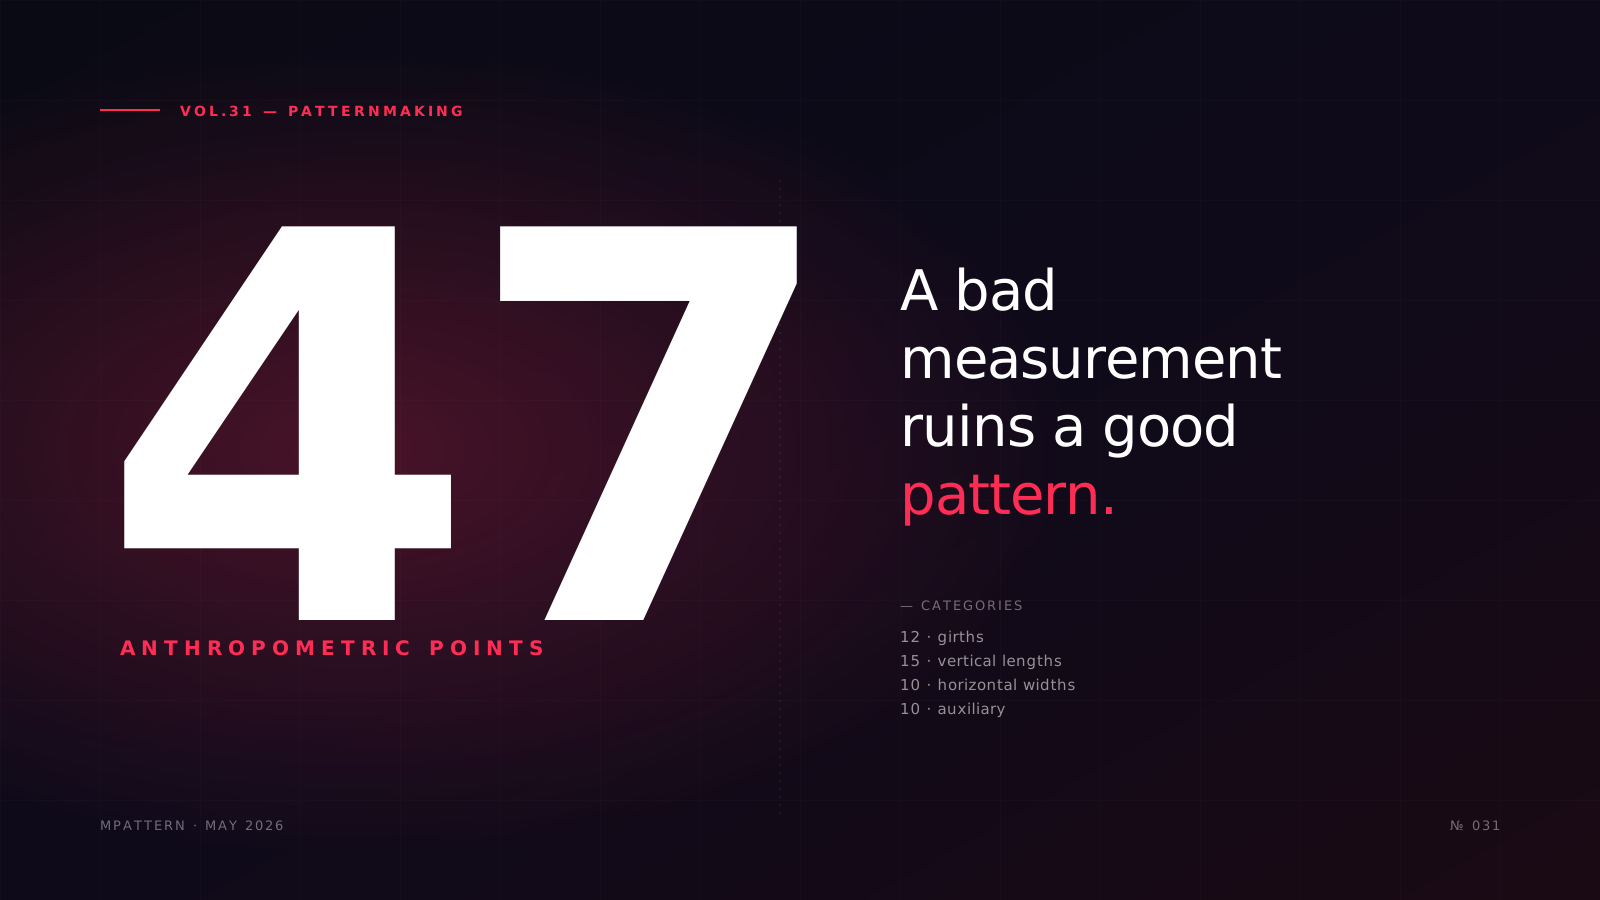
A bad measurement ruins a good pattern. Here are the 38 anthropometric measurements the MPattern engine works with, in what order to take them, which errors are the most expensive, and how to verify before cutting.
Any pattern maker who has worked made-to-measure for years confirms it: the pattern can be perfect, but if measurements are wrongly taken, the garment doesn't fit. And remaking a tailored jacket because chest girth was recorded 3 cm narrower than reality is one of the most expensive mistakes in the trade.
This article is a practical guide to the 38 anthropometric measurements the MPattern engine uses to generate its base patterns, in what order to take them, which errors are most frequent, and how to verify them before cutting.
Why 38 measurements and not four or five
When you learn basic pattern making, the measurements taught are four or five: chest girth, waist, hip, length. Enough for a very generic base pattern.
The difference between a pattern that "more or less fits" and a truly made-to-measure pattern is granularity. A professional parametric engine needs additional measurements that basic pattern making approximates with standard formulas: shoulder slope, bust span, shoulder to bust, hip height relative to waist, crotch length, inseam, wrist girth, neck girth, etc.
The 38 measurements of the MPattern engine cover all categories of its base catalogue: tops, dresses, skirts, trousers, coats, underwear and accessories. No pattern asks for all of them: each base asks only for its own, from 1 to 23 depending on the garment.
The 38 measurements, by zone
They are the same ones the app's measurement form asks for and its measuring guide explains, grouped into five body zones:
1. Upper torso (15 measurements)
Chest, high bust, front bust, front high bust, bust span, under bust, bust point to under bust, neck, shoulder to shoulder, shoulder slope, shoulder to bust, shoulder to waist (front), shoulder to waist (back), waist to armpit and waist to under bust. Girths are taken horizontal, parallel to the floor, with the tape measure perfectly level: 1 cm of tilt introduces 2 cm of error on large girths. Vertical lengths are the most expensive to get wrong: 2 cm of error in shoulder-to-waist length shifts the entire armhole position.
2. Waist and hip (7 measurements)
Waist, back waist, hips, seat, back seat, waist to hips and waist to seat. The "back" measurements are the rear part of the girth: they let the pattern split the volume correctly between front and back, something a standard size cannot tell apart.
3. Legs (11 measurements)
Waist to floor, waist to knee, waist to upper leg, inseam, crotch length, front crotch length, crotch depth, upper leg, knee, ankle and heel. Crotch length and crotch depth decide much of how a pair of trousers fits.
4. Arms (4 measurements)
Biceps, shoulder to elbow, shoulder to wrist and wrist.
5. Head (1 measurement)
Head girth, for hoods and garments that go over the head.
Order matters
There's an optimal sequence for taking the 38 measurements that minimizes fatigue and client-position errors:
- Client wears tight underwear or a fitting suit. Loose clothing falsifies girths by 2-5 cm.
- First mark reference points with tailor's tape: nape (7th vertebra), shoulder point, underarm, natural waist, most prominent hip. These points don't vary if the client breathes or changes posture.
- Take all girths in descending order: neck → chest → waist → hip → thigh → knee → ankle, tape parallel to the floor. Then arms.
- Take all vertical lengths in descending order: total back → hip → knee → ankle. Then sleeve lengths.
- Take horizontal widths with the client standing, shoulders relaxed, arms loose.
- Close with shoulder slope (normal, high or low) and head girth.
Total time with practice: 12-15 minutes per client.
Most common errors
Five, in order of frequency:
- Waist mislocated. It's not the trouser waist, it's the natural line where the torso narrows. Ask the client to lean sideways: the fold that forms marks the natural waist.
- Girths with tape not parallel to floor. Solution: client facing a mirror, you behind. The tape should read the same height front and back.
- Back length from shirt collar instead of from 7th vertebra. Typical difference: 3-4 cm. The entire armhole shifts.
- Chest girth taken without neutral breathing. The client should breathe normally, neither inflating nor emptying lungs. Repeat the measurement twice and use the average.
- Client with heels or barefoot when the garment will be worn the opposite way. If the garment will be worn with heels, measure with heels. Difference in vertical lengths: up to 8 cm.
Cross-validation
Before cutting, three quick validations detect most badly-taken measurements:
- Chest > waist > under bust in standard women. If not, recheck waist.
- Hip > waist except in very specific cases (high waist). Discrepancy >2 cm without justification: re-measure.
- Sleeve length from shoulder = back length × 0.68 ± 4 cm in standard human proportions. Outside that range: probably an error.
A good parametric engine helps with these checks. For lower-body garments, MPattern warns you before generating the pattern if the seat comes out narrower or higher than the hip, an inversion that is almost always a measuring error.
Practical conclusion
Taking measurements well is a craft learned through repetition. The 38 measurements sound like a lot at first, but with practice they're taken in 12 minutes and eliminate most garments that "almost fit".
For ateliers receiving new clients every week, standardizing this measurement-taking with a sheet template and cross-validation before cutting is probably the operational change that most reduces returns and remakes.
To see how these measurements translate into a concrete base pattern, check our article on how a parametric engine works.
Frequently asked questions
How long does it take to measure someone for custom pattern making?
With practice, taking all 38 measurements requires 12-15 minutes per client, and most patterns only need some of them. This includes marking reference points with tailor's tape, recording girths in descending order, vertical lengths and widths. Beginners typically need 20-30 minutes until they establish an efficient workflow and develop muscle memory for the measurement sequence.
What is the most common mistake when taking body measurements for sewing?
Mislocating the natural waist is the most frequent error in professional measurement taking. Many people measure at the trouser waist instead of the natural line where the torso narrows. The correct technique is asking the client to lean sideways—the fold that forms marks the true natural waist. This single mistake can shift the entire pattern by 3-5 centimeters and ruin garment fit.
Why do custom patterns need more than the basic measurements?
Basic pattern making uses 4-5 measurements and approximates the rest with standard formulas, producing garments that only "more or less fit." A made-to-measure pattern needs more because they capture individual variations that formulas cannot predict—like shoulder slope, bust span, crotch length, and hip height relative to waist. The MPattern engine works with 38 measurements in total, and each pattern asks only for its own (from 1 to 23, depending on the garment). Two people with identical chest girth can have vastly different shoulder widths, making granular measurement essential for true fit.
How do you verify body measurements are correct before cutting fabric?
Three quick validations catch 90% of measurement errors before cutting: verify chest girth is larger than waist and under-bust in standard women's bodies; confirm hip measurement exceeds waist by more than 2 cm unless justified; check that sleeve length from shoulder equals approximately 68% of back length (±4 cm). Modern parametric engines perform these cross-validations automatically and flag inconsistent measurements before pattern generation begins.
Where exactly do you measure back length for pattern making?
Back length is measured from the most prominent point of the seventh cervical vertebra (nape) down to the natural waist, not from "where the back starts" on a shirt collar. This is the single most expensive measurement error—recording it 2 cm wrong from a shirt collar instead of the actual vertebra shifts the entire armhole position and can ruin a tailored jacket that costs hundreds to remake.
Related glossary terms
With MPattern
Build your own base blocks
The parametric engine constructs technical patterns from your measurements. Auto-grading and export in minutes.
Try the engine