How to save fabric cutting with an industrial plotter: real optimization in textile patternmaking
Cutting with an industrial plotter can save between 18% and 32% of fabric if configured correctly. This technical guide breaks down how to achieve it: from marker optimization to the mechanical tweaks nobody talks about.
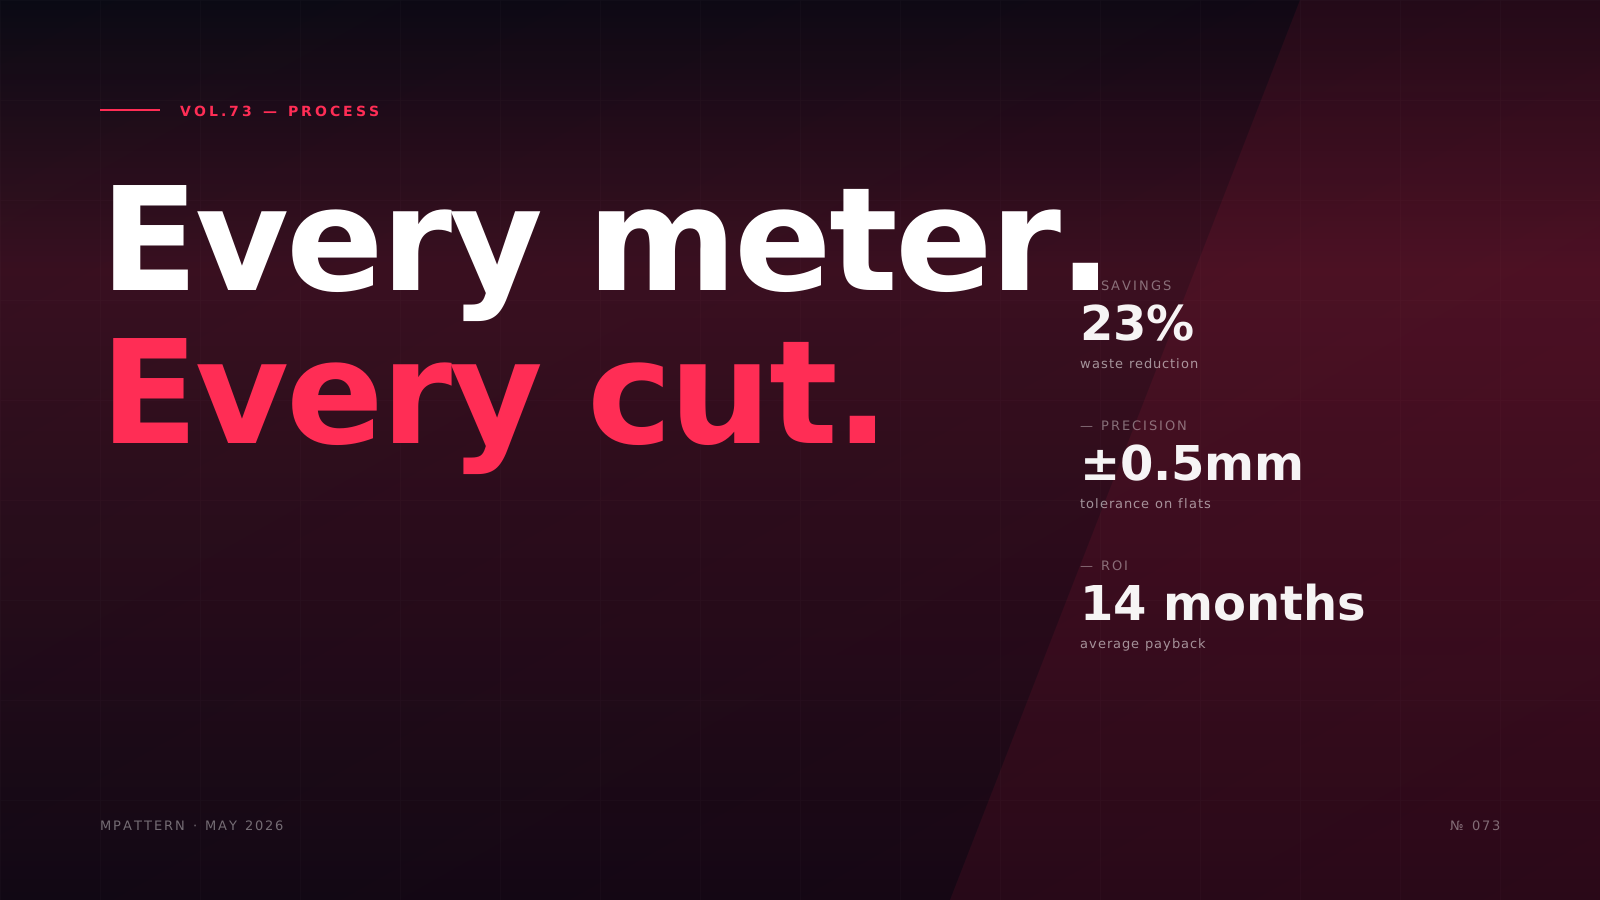
Cutting with an industrial plotter promises to revolutionize textile efficiency, but the reality is more nuanced. According to European textile industry data, real fabric savings range from 18% to 32% depending on configuration, fabric type and piece complexity. The gap between those two extremes isn't luck: it's technique applied correctly. This article breaks down the variables that determine whether your plotter investment actually reduces waste or simply automates the same wastefulness you had by hand.
The European textile industry wastes between 15% and 30% of the fabric it buys, according to Euratex data. For a mid-sized atelier working 8,000 meters of fabric a year at €18/m, that means between €21,600 and €43,200 literally burned. The plotter doesn't magically eliminate this problem: it makes it controllable if you understand three fundamental levers.
The marker is 70% of the savings: smart nesting vs manual
Marker-making software —the process of laying pattern pieces across the fabric width— determines how densely material is used. A plotter cuts whatever you send it: if your marker has unnecessary gaps, you'll cut unnecessary gaps at industrial speed.
Today's automatic nesting algorithms achieve between 82% and 91% utilization on flat, non-directional fabrics (poplins, satins, canvas). On fabrics with nap, stripes or checks, this drops to 68-76% because of orientation constraints. What matters: an experienced manual operator reaches 75-80% on flats and 62-70% on directional fabrics. The software's gain isn't spectacular in absolute terms, but it's consistent —humans have bad days, algorithms don't.
The key lies in smart hybridization. According to industry analysis, professionals who use automatic nesting as a base and then manually adjust 3-5 problem pieces (sleeves, complex collars, asymmetric pieces) gain 2-4 extra percentage points versus pure automation. Small, but across 8,000 meters a year that's 160-320 meters saved: between €2,880 and €5,760.
Common mistakes in plotter markers:
- Excessive margins between pieces: many operators leave 8-12mm "just in case." With a well-calibrated plotter, 3-4mm is enough on stable fabrics. Across 100 pieces, you recover 40-80cm of fabric.
- Not rotating small pieces: collars, cuffs and facings can rotate 180° on fabrics without nap. The software does it automatically; humans often forget these micrometric gains that add up.
- Ignoring the roll's width/height ratio: a marker optimized for 150cm width wastes fabric on 140cm rolls. Adjust the template to the actual width you'll receive.
Plotter technical setup: where 15% is silently lost
A poorly configured plotter can waste more fabric than manual cutting. The three critical points:
Blade pressure and cut depth
Every fabric requires a specific adjustment. Too much pressure on jersey knit causes stretching that ruins pieces (2-3mm of distortion on an armhole wrecks the fit). Too little pressure on gabardine leaves uncut fibers that force manual re-cutting —wasting time and precision.
The professional rule: the blade should pass through the fabric penetrating 0.3-0.5mm into the cutting surface (felt or PVC depending on the machine). Beyond that it wears the table prematurely and creates burrs; less than that leaves fibers attached. Test on 30cm of fabric before launching production: if the cut piece lifts away cleanly without pulling, the pressure is right.
Cutting speed and corners
Modern plotters cut straight lines at 60-100cm/sec. The problem is corners: if the machine doesn't decelerate, the blade's inertia causes 1-2mm of overshoot. On a blouse with 24 corners per piece × 8 pieces = 192 corners × 1.5mm = 288mm of accumulated deviation. A sleeve can end up 3-4mm shorter.
Set corner deceleration between 20-35% of the straight-line speed depending on the angle. Most industrial software has "sharp corner" vs "soft corner" presets. Use them. On stretch fabrics, lower the straight-line speed to 40-50cm/sec: the time saved doesn't offset the risk of stretching.
Blade thickness compensation (kerf offset)
The blade has physical thickness (typically 0.8-1.2mm depending on type). If the plotter follows the pattern line without compensating, it cuts 0.5-0.6mm inward on each side: a piece 50cm wide loses 1mm of actual width. It seems trivial, but in close-fitting patternmaking (suits, underwear) that deviation accumulated across multiple seams ruins the fit.
Kerf compensation must be set in the plotter's control software, NOT in the pattern. Typical value: an offset of +0.4 to +0.6mm outward from the piece. Verify with a calibrated test piece (a 20×20cm square) measured with digital calipers. If it reads 19.8×19.8mm, your offset is under-compensated.
Problem fabrics: where the plotter isn't magic
Some materials resist automation:
Very stretchy knits (>40% stretch): the plotter cuts them, but the piece deforms when handled after cutting. Solution: apply a light textile starch spray before spreading, or cut directly onto heat-adhesive paper backing (adds €0.8-1.2/m to cost). Professionals specializing in knits report this technique as indispensable.
Velvets and high-pile fabrics: the blade's pressure crushes the pile, creating visible cut lines. This requires specific low-angle blades (45° vs the standard 60°) and speeds below 30 cm/sec. Even so, the finish doesn't match manual scissor cutting. Evaluate whether the marker savings offset the compromised visual quality.
Fine silks and organzas: they slide on the cutting table. You need active vacuum suction (not all plotters integrate it) or perimeter double-sided tape. The waste here doesn't come from the cut but from the spreading: a poorly tensioned silk produces trapezoidal pieces. The plotter only amplifies the human error in spreading.
Realistic ROI calculation: numbers the vendors don't mention
A mid-range industrial plotter costs between €35,000 and €65,000 installed. Annual consumables (blades, filters, maintenance) add €1,200-€2,400 depending on usage intensity. The critical question: when does it pay for itself?
Typical mid-sized atelier scenario:
- Monthly production: 600 garments (3-4 pieces on average = 2,000 pieces cut/month)
- Textile consumption: 720 meters/month at €18/meter average = €12,960
- Current manual waste: 22% = €2,851/month lost
- Waste with an optimized plotter: 14% = €1,814/month
- Net monthly savings: €1,037
- ROI in 38-52 months (3.2-4.3 years) depending on equipment price
The equation changes if you produce >1,200 garments/month or work with expensive fabrics (wools at €40/m, silks at €60/m). Then ROI drops to 14-22 months. Below 400 garments/month, the plotter is rarely justified by fabric savings alone —you also need to value reduced cutting times and quality consistency.
Digital integration: the invisible saving that multiplies benefits
The plotter's real power emerges when it's integrated with native digital patternmaking. A traditional workflow involves:
- Paper or CAD pattern → 2. Export to PDF/DXF → 3. Import into marker software → 4. Optimize marker → 5. Send to plotter
Each transition introduces errors (misconfigured scales, inverted orientations, duplicated seam allowances). The industry reports cases where a correct pattern reaches the plotter with an armhole 8mm wider due to a DXF export error. The operator doesn't catch it until sewing, when multiple garments are trash.
Native-digital patternmaking platforms like MPattern eliminate these transitions: the pattern is generated in optimized vector format from the start, the marker is calculated within the same environment, and the export to the plotter is direct with embedded fabric metadata. This integration significantly reduces pre-cut errors and saves considerable time per marker versus the traditional workflow.
According to an analysis of textile digitalization, the industry loses 6-9% of production efficiency in file-transfer friction between systems alone. The plotter's fabric savings multiply when you eliminate these hidden operational losses.
Predictive maintenance: protecting the investment and the precision
A miscalibrated plotter wastes fabric silently. The three mandatory checkpoints:
Weekly: clean the rails and check for play in the head. A speck of fabric dust in the optical encoder produces random deviations of 0.5-2mm. Five minutes with compressed air prevents rejects.
Monthly: recalibrate the origin (home position). Use the manufacturer's calibration square. If you detect drift >0.3mm, it needs technical adjustment —don't ignore it, it worsens exponentially.
Quarterly: preventive blade replacement. A dull blade requires more pressure, which stretches elastic fabrics. The cost of a blade (€12-€35 depending on type) is irrelevant versus the waste it generates.
Rejects of plotter-cut pieces in small ateliers are frequently due to deferred maintenance, not marker faults. It's the industrial version of "we cut badly because the scissors were dull."
Conclusion: the saving is in the system, not the machine
Saving fabric by cutting with an industrial plotter isn't automatic: it requires technical mastery of markers, precise equipment setup for each fabric, and disciplined maintenance. The real numbers —18% to 32% waste reduction— are achieved when you treat the plotter as a component of an integrated digital system, not as a faster guillotine.
The difference between ateliers that recover their investment in 14 months and those that take 4 years lies in understanding that textile savings have three layers: algorithmic marker optimization (40% of potential savings), technical cut configuration (35%), and elimination of digital-workflow errors (25%). Neglect any one and you leave money on the cutting table.
If you're evaluating plotters, start by calculating your current waste precisely —not estimates, but actual measurement of offcuts over two weeks. Then simulate optimized markers with the same pieces using professional software like MPattern to see the achievable gain. Only then will you know whether the €50,000 for the equipment is justified or whether your real problem is somewhere else in the chain.
Modern industrial patternmaking isn't about technology for technology's sake, but about quantifying, optimizing and executing with micrometric precision. The plotter is the tool; your technical knowledge is the real saving.
Related glossary terms
With MPattern
Optimise your atelier workflow
Take measurements, generate patterns, grade and export. The full cycle in a single tool.
See plans