Boat Neck: How to Draft the Pattern, Proportions and Sewing Techniques
The boat neck looks straightforward — a horizontal line crossing from shoulder to shoulder — but it demands a drafting precision that very few guides explain in detail. Its geometry deceives: one centimeter of deviation in the curve or the depth transforms an elegant line into a neckline that slips, gaps, or loses its characteristic silhouette the moment someone puts it on.
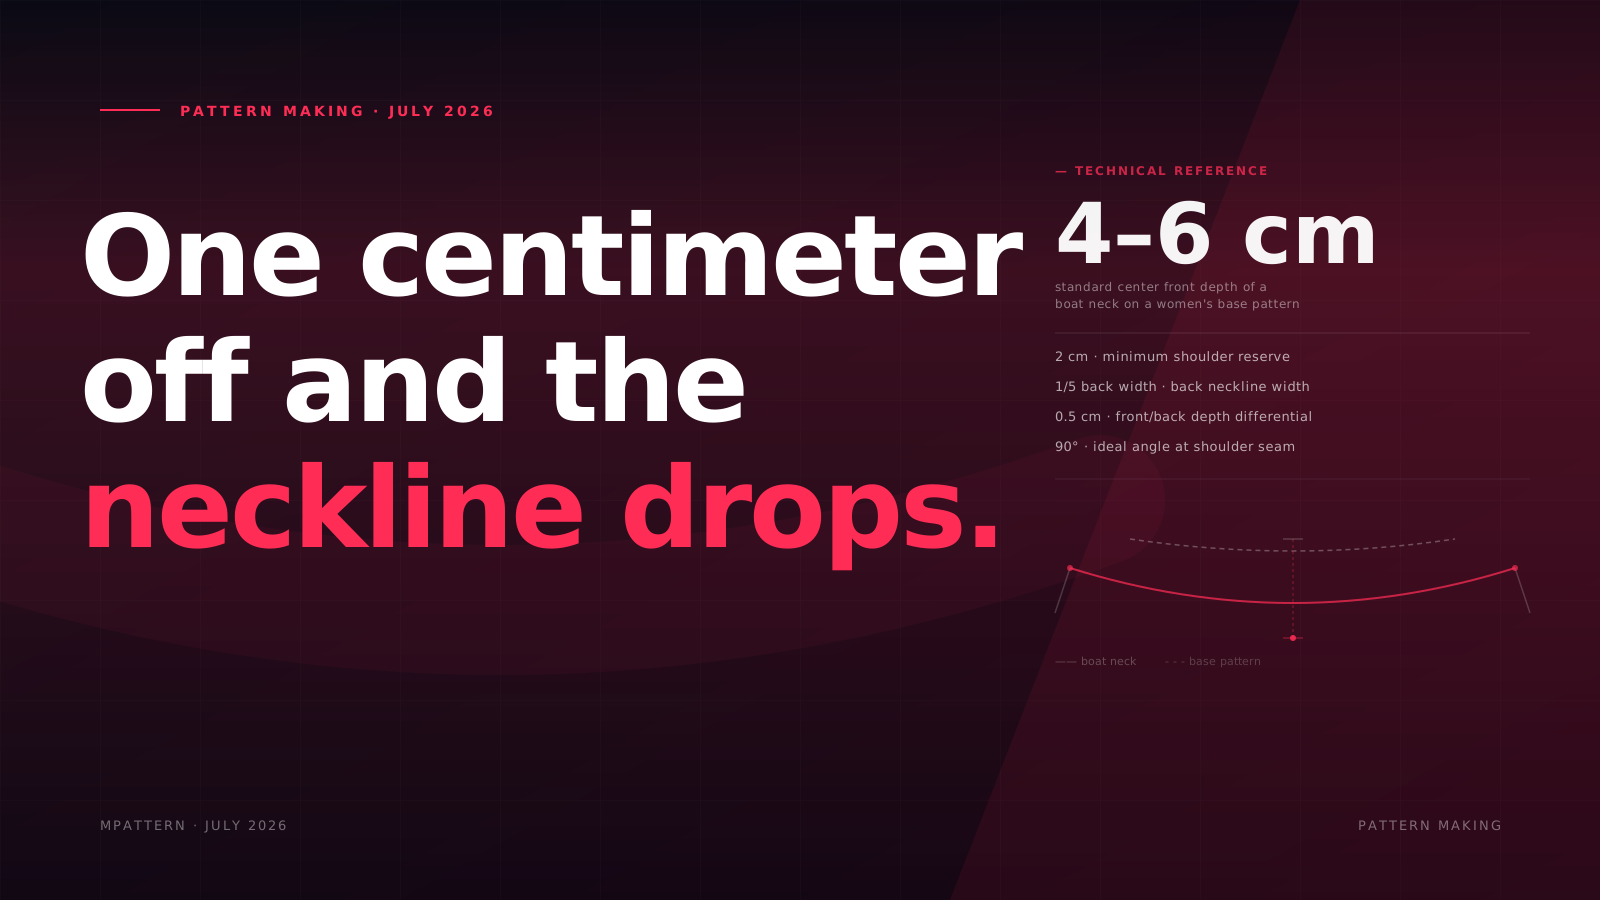
The boat neck has one of the most recognizable silhouettes in the history of fashion design. A horizontal line, nearly parallel to the shoulder line, crossing from one shoulder to the other and revealing the collarbones without resorting to a deep plunge. Its clean geometry has led generations to classify it as an "easy" neckline — when in fact it is one of the most demanding from a pattern making standpoint: any imprecision in the drafting or finishing shows immediately because there is no other design element to distract the eye.
This article covers the complete technical process for drafting, constructing, and finishing a boat neck from the bodice base pattern, with exact proportions, common variations, and solutions to the most frequent problems.
The Geometry of a Boat Neck: What Defines It
The boat neck is defined by two technical characteristics that distinguish it from other neckline types:
Horizontal direction: the boat neck follows a line that runs from shoulder to shoulder, roughly parallel to the bust line — as opposed to necklines like the V-neck (diagonal) or the round neck (curving toward the throat). This horizontality is what creates the visual effect of width and what exposes the shoulder line.
Shoulder reserve: unlike dropped-shoulder necklines (off-shoulder) or T-shirt-style scoops, the boat neck maintains a band of fabric over the tip of the shoulder. This reserve, which technically falls between 1.5 and 3 cm, is what allows the neckline to stay in place during wear. Without it, the garment will slip toward the arms with any movement.
The curve of a boat neck, though appearing straight to the eye, has a slight upward concavity at the center — more pronounced on the front than the back — that follows the natural anatomy of the torso. A perfectly straight line from shoulder tip to center creates a very shallow V shape that reads visually as a failed square neckline rather than a proper boat neck.
Standard Proportions by Size
Before drafting the boat neck, three key measurements must be established:
Total neckline width: measured from edge to edge (left shoulder to right). The standard technical reference is one-third of the total shoulder width of the base pattern, measured from center. For European sizes 36 to 42, this ranges from 16 to 19 cm at the front and 15 to 18 cm at the back.
Center front depth: the distance from the original neckline of the base pattern down to the lowest point of the new boat neck. This measurement is critical because it determines how much of the collarbone is exposed. The standard technical range is 4 to 6 cm for a classic boat neck. Under 4 cm reads as a crew neck that has lost the boat neck silhouette. Over 8 cm starts approaching a deep round neck.
Center back depth: always shallower than the front depth. The standard is to subtract between 0.5 and 1.5 cm from the front depth. This asymmetry, compensating for the anatomical difference between the front and back torso angles, keeps the neckline visually level when worn.
Shoulder reserve: the distance between the outermost point of the neckline and the shoulder edge of the pattern. A minimum of 2 cm keeps the neckline from slipping. For lightweight or drapy fabrics that tend to pull outward, increase to 3 cm.
Step-by-Step Drafting from the Base Pattern
The starting point is the bodice base pattern (also called the sloper or basic block), either proprietary or commercial, with the shoulder seam correctly marked.
Step 1: Mark the neckline endpoint at the shoulder. On the shoulder seam of the front pattern, measure from the neckline point toward the shoulder tip and mark the reserve distance (minimum 2 cm). Mark this point with a cross. Repeat on the back pattern.
Step 2: Define the center front depth. From the point where the shoulder seam meets the original neckline (the neckline-shoulder junction), measure vertically down center front 4–6 cm. Mark this point; it will be the lowest point of the neckline.
Step 3: Define the center back depth. From the equivalent point on the back, drop 3–5 cm (0.5–1 cm less than the front). Mark it.
Step 4: Draw the front boat neck curve. Using a French curve or hip curve ruler, draw a gently upward-concave line connecting the shoulder point from Step 1 with the center depth from Step 2. The curve should be very subtle: if the height difference between the shoulder endpoint and the center point is 5 cm, the curve should rise no more than 1–1.5 cm above a straight line connecting them. Too much curvature produces a neckline that reads as "puffed upward" rather than clean and horizontal.
Step 5: Draw the back boat neck curve. Same process using the shallower depth from Step 3. The back curve is always flatter than the front due to the smaller depth differential.
Step 6: Check the total neckline perimeter. Using a tape measure along the drawn curves on both front and back (accounting for both halves if working with a half-pattern), establish the total perimeter. This figure determines the cut length of the neckline binding or facing.
Step 7: Verify the shoulder seam transition. When the front and back patterns are placed together at the shoulder seam, the two curves should meet to form a continuous smooth line with no sharp angle. If a break appears, adjust the curve on the side that creates the angle using a French curve until the transition reads as uninterrupted.
Boat Neck Variations
The boat neck accepts several variations that preserve the horizontal essence while altering the visual effect:
Symmetrical boat neck: front and back have the same depth, giving a cleaner look but potentially feeling too open at the back for some body types.
Asymmetrical boat neck: one shoulder line is lower than the other, creating a diagonal line from one exposed shoulder. Technically more complex because the shoulder seam must be adjusted to compensate for the height difference.
Square boat neck: instead of a curve, the neckline follows a perfectly straight horizontal line with a sharp drop at the shoulder ends. Drafted the same way as the classic but using a straight ruler instead of a curve. Requires more precise square-cornered finishing at the ends.
Deep-cut boat neck: when the depth exceeds 8 cm, the neckline begins to approach a dropped shoulder look. To keep it reading as a boat neck, the shoulder seam must retain at least 2 cm of reserve and the fabric must be firm enough to hold the line without sagging.
Fabric Compatibility
Fabric choice largely determines the success of a boat neck. The technical criteria are:
Dimensional stability: fabrics that do not deform under their own weight keep the horizontal neckline in position during wear. Ponte knit, polyester crépe, light denim, and tightly woven fabrics are the most suitable.
Weight: overly heavy fabrics (above 200 g/m²) may drag the neckline downward, opening the neckline beyond the calculated measurement and causing unintended drop at the shoulders. When a heavy fabric is required, increase the shoulder reserve to 3–4 cm and reinforce the shoulder seam.
Knit fabrics: work well when the stretch percentage does not exceed 40–50% in the crosswise direction (the direction in which the neckline is stressed when pulling the garment over the head). With higher stretch, the neckline may open beyond its intended width during wear. The solution is to shorten the binding length (sew it 10–15% shorter than the neckline perimeter) so the binding acts as a structural restraint.
Materials to avoid: very lightweight chiffon without lining, fluid viscose jersey, and any material that elongates under its own weight produce necklines that lose their shape in use. If the design requires these fabrics, line the neckline area with iron-on organza or use a facing cut from a higher-stability fabric.
Boat Neck Finishes
The type of finish determines both the aesthetic and the behavior of the neckline during wear. The three most common in professional production are:
Shaped facing: a piece of fabric cut to exactly match the curve of the neckline, sewn to the garment on the right side and turned to the inside. This is the cleanest visual finish and the one that best holds the line. It must be interfaced for consistency. Standard facing width: 3–4 cm.
Bias binding: a strip of fabric cut on the true bias, wrapped around the neckline edge. Gives a more delicate appearance and works particularly well with knit fabrics or boat necks on evening wear. The strip must be cut on the bias to conform to the curve without rippling.
Simple hem: the neckline edge is folded to the inside and stitched by hand or with a topstitch. Only appropriate when the neckline curve is very shallow (minimal depth differential). On pronounced curves, a simple hem produces unavoidable ripples.
In all three finishes, the shoulder seam must be stabilized before applying the neckline finish. The most effective method is sewing a narrow twill tape (8–10 mm wide) over the shoulder seam before pressing it open or joining the bodice pieces.
Common Problems and Solutions
The neckline slips off the shoulders during wear: the shoulder reserve is too small. Increase to 2.5–3 cm. This can also be caused by the finish applying outward tension; check the binding length.
Ripples appear in the finished neckline: the binding or facing is too long relative to the neckline perimeter. Reduce its length by 5–8%, or press the neckline with steam to redistribute the fabric.
A visible angle forms at the shoulder seam: the front and back curves are not tangent at that point. Smooth the curve on the side creating the angle using a French curve until a continuous transition is achieved.
The neckline is not horizontal when the garment is worn: the front and back depths are out of balance, or the shoulder seam is incorrectly positioned in the base pattern. First verify that the base pattern has the shoulder seam with its correct forward inclination (not perfectly horizontal, but tilted 1–1.5 cm toward the front) and adjust the depth differential between front and back accordingly.
The neckline looks stiff or forced: the facing interfacing is too heavy for the fabric. Use a lighter-weight interfacing (medium weight instead of heavy) or replace the facing with a bias binding in a lightweight fabric.
The boat neck, in the end, is one of those design elements that rewards technical precision from the first draft. When the proportions are correct, the fabric is appropriate, and the finish is cleanly executed, it produces one of the most balanced and versatile silhouettes in garment construction: elegant without ostentation, structured without rigidity.
Frequently asked questions
What is the difference between a boat neck and a bateau neck?
They are the same neckline, referred to by two names. 'Boat neck' is the more common English term in the United States, while 'bateau neck' (from French, meaning 'boat') is frequently used in European and couture contexts. Technically, some pattern books reserve 'bateau' for a slightly more open version that sits closer to the shoulder tips, but this distinction is not standardized across the industry and varies by maker.
How do I stop a boat neck from falling off my shoulders?
A boat neck slips off the shoulder when the shoulder reserve is too small (under 1.5–2 cm from the shoulder edge), when the fabric lacks the structure to hold the line, or when the neckline finish applies inward tension. The technical fix is maintaining at least 2 cm between the outer edge of the neckline and the actual shoulder point, stabilizing the shoulder seam with an iron-on tape before attaching any finish, and choosing a neckline finish that does not pull the fabric inward.
Which fabrics work best for a boat neck?
Fabrics with firm structure that hold their shape are ideal: ponte knit, polyester crépe, light denim, cotton poplin, and fabrics with a polyester blend for dimensional stability. Overly soft or heavy fabrics pull the neckline downward. Knit fabrics work well as long as the neckline has sufficient shoulder reserve to compensate for the lateral pull when the garment is pulled on over the head.
Can I adapt a boat neck to knit fabric?
Yes, but with specific adjustments. In knit fabric, reduce the neckline binding length by 10–15% relative to the neckline perimeter (sew it shorter so it sits slightly taut and does not sag). Also stabilize the shoulder seam with a narrow ribbon or iron-on tape to prevent the fabric's lengthwise stretch from elongating the seam and distorting the neckline proportions. In fabrics with more than 50% stretch, increase the shoulder reserve to 3–4 cm.
How wide should a boat neck be from center to shoulder?
The standard technical reference is approximately one-third of the total shoulder width, measured from center front. For European sizes 36–42 (with a shoulder width of roughly 37–38 cm), the front neckline typically spans 16–18 cm from edge to edge, and the back 15–17 cm. The 1–2 cm front/back difference compensates for the natural forward inclination of the shoulders and keeps the neckline visually level when worn.
Related glossary terms
With MPattern
Build your own base blocks
The parametric engine constructs technical patterns from your measurements. Auto-grading and export in minutes.
Try the engineRelated articles
Pattern making
Lekala vs Sewist vs MPattern: Choosing the Right Made-to-Measure Pattern Platform
Pattern making
How Custom Sewing Patterns Online Actually Work: The Technical Reality Behind Made-to-Measure Digital Drafting
AI in fashion
Does AI That Creates Custom Sewing Patterns Actually Exist? An Honest Look at the State of the Sector